What would happen if you do not perform the necessary maintenance for your record player? You will be stuck with subpar sounds. And doesn’t that defeat the point of owning one in the first place? Discover how to correctly clean your vinyl LP records!
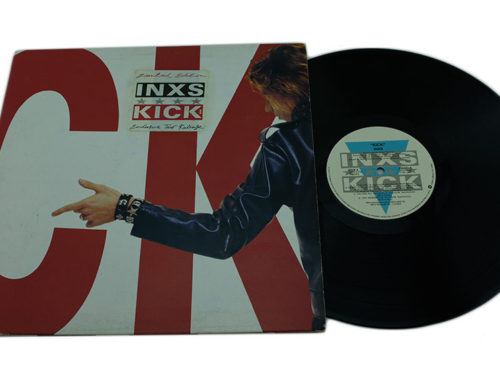
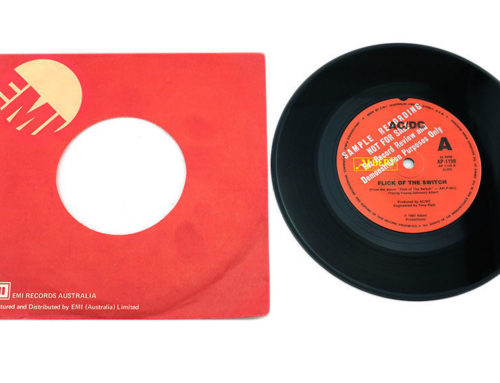
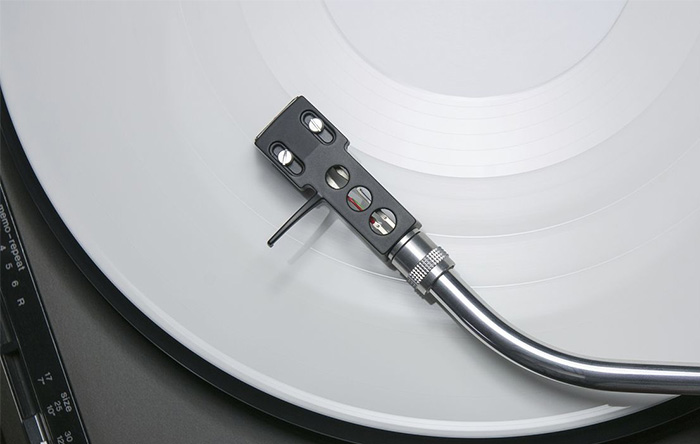
First of all, what is a Vinyl LP Record? A Vinyl LP Record was a popular medium for storing music back in the 70s and early 80s. In a Light Play (LP) record, there are usually around 12 songs with six songs per side of the vinyl. Vinyl is what you would call the big disk that stores the songs. To play the songs, you would need a radio. And no, I’m not referring to the digital radio or the stereo. I’m talking about the record player where a tonearm pokes the vinyl as it spins and produces the songs in the player.
Dust frequently collects in obscure locations. This logic also applies to your record player. Recognising dust would be essential if you want to maintain the status of your Vinyl LPs and record player. Whatever the case, it remains after each usage and must be cleaned before the next.
To clean a Vinyl LP Record is simple. First, you have to prepare these necessary materials if you want to clean your vinyl records properly.
- Stylus Brush – It is necessary because a stylus brush is specially designed for record players. Under the right conditions, it can leave your vinyl spotless and in mint condition.
- Dry cloth – It is necessary for wiping off any leftover liquids that a stylus brush cannot remove.
- Rubbing Alcohol or Isopropyl Alcohol – Don’t add too much of an alcohol solution when cleaning as it would damage the vinyl. Rubbing and Isopropyl Alcohols are good as they usually come with only a 30% alcohol solution.
- Tap water – Rinsing with water is always necessary when cleaning because it washes away all the excess bacteria and dust left after the initial cleaning process.
Second, clean your stylus brush by wiping it front to back and vice versa about 5-10 times. Make sure to never blow on the bristles of the brush because there is a high chance you will likely spit on it. Also, refrain from wiping the brush side to side because it can cause the bristles to bend. After that, add alcohol to the bristles to start the cleaning process.
The third step is to wipe the vinyl with the stylus brush in a circular motion. You want to start from the centre of the vinyl and work your way outward. Be careful because you can easily scratch the vinyl. If dust is left, apply a small amount of alcohol to the surface. Dust and any prints should be removed by now. Wipe the vinyl with a cloth to remove any excess alcohol.
Gently rinse the vinyl with tap water to give it one last clean. After that, let it dry for a few hours, and you can go back to listening to your favourite albums.
